Hiển thị các bài đăng có nhãn healthy. Hiển thị tất cả bài đăng

Thứ Năm, 19 tháng 5, 2016

Guest Post Series: LOBIA SUVA BHAJI SUBZI (Sauteed Dill with Black-eyed peas) by Shobana Rao

 Hope you all found Ashwini Kamath's Piyava tambali very useful last week. This week my guest is another senior blogger whom I hold in high esteem. She is respected by all and much liked in the blogging community. She is very humble, helpful and resourceful. It is my pleasure to introduce to you Shobana Rao. She blogs @ Cooking with Shobana.Her blog has a plethora of recipes that are traditional Konkani as well as several fusion recipes. She resides in Bangalore, India.

 I am honored to have her write a guest post for me. Today, she has brought us Lobia Suva Subzi which is essentially a dish in which black-eyed peas have been cooked with Dill leaves and spices in a very flavorful manner. Do check her blog "Cooking with Shobana" for more healthy and delicious recipes.


This healthy dish of legume and greens is made as a Guest Post for my friend, Suchitra Kamath who has an interesting blog full of healthy recipes called,"Su's Healthy Living.

The main ingredients in this dish are Black Eyed Beans and Dill Leaves (called Lobia and Suva Bhaji in Hindi respectively). Dill leaves are called Shepu in Marathi/Konkani and Sabsigge Soppu in Kannada. You might be interested to know that Black Eyed Beans (also known as Black Eyed Peas) have many health benefits while Dill Leaves have a distinctive and special flavour all of their own.

You can enjoy this dish with rotis or as a side dish with the main meal.

Servings:

Ingredients:
  • Lobia ( Black Eyed Beans), 1 cup
  • Suva Bhaji ( Fresh Dill Leaves), chopped, 2 cups
  • Rai ( Mustard Seeds), 1/2 tsp
  • Jeera (Cumin Seeds), 1/2 tsp
  • Curry Leaves, a sprig
  • Green Chillies, slit, 3-4, or as per taste
  • Garlic Pods, finely chopped, 3
  • Large sized Onion, chopped, 1
  • Salt, to taste
  • Lemon juice, 2-3 tsp
  • Oil, 1 tbsp
Method:

Wash and soak the lobia overnight or for 8-10 hours

Next morning, pour out the excess water

In a pressure cooker, cook the soaked lobia in adequate water for 1-2 whistles or till done.Take care to see that the lobia does not get overcooked.Once the cooker has cooled remove the cooked lobia and keep it aside.

Heat oil in a thick-bottomed kadhai and when it gets hot add the mustard seeds.When they splutter, add the cumin seeds and when they sizzle add the curry leaves and saute for a few seconds.

Next add the slit green chillies, chopped garlic, and onion and saute till the onion becomes translucent and the garlic gives off a nice aroma.

Add the chopped dill leaves, cooked beans, salt to taste and mix well.

Cover and cook on medium flame till the dill leaves get done.

Finally add the lemon juice and mix well.

Transfer to a serving bowl.
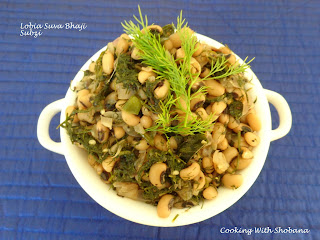


Serve hot with rotis or rice.

Enjoy!!


I am bringing this delicious dish of Shobhana akka's to all my friends at Throwback Thursday#39, Fiesta Friday#120  and Saucy Saturdays#44! Angie's co-hosts this week are Loretta @ Safari of the Mind and Linda @ Fabulous Fare Sisters


Please do share your thoughts. Your opinion matters!

Thứ Sáu, 6 tháng 5, 2016

Guest post series: Bachelor's Sambar by Radha Natarajan


My guest today is a blogger who is a very down-to-earth, unassuming person. For those who are unfamiliar with the blogging world, here is a little bit of background. Food blogging is a cut-throat world. People are always trying to find ways and means to increase traffic to the world. Nothing wrong in that. But what this also means is that if you are new to the blogging world, you will see that very few people share with you the tricks of the trade. Then there are those who think they are the best and everyone else is not worth the time of the day! I am blessed to have some good people around me, most notable amongst them being Sonal Gupta from simplyvegetarian777. It was Sonal who introduced me to Radha Natarajan. She blogs from Your Everyday Cook.


She is a woman after my own heart! She is someone who blogs with the genuine intent of helping others, especially working people like me! She is not a part of the rat race. She does not worry about how many people visit her blog or how popular she is on social media! Don't be fooled by her looks. She has an MBA in marketing and advertising and has worked in that area for several years before she gave it up to take care of her daughter. She started blogging in April, 2014 at the suggestion of her daughter, who suggested that she create a blog to archive all the recipes that she shared and were popular in quite a few food groups! That's how "Your Everyday Cook" was born.


I love her recipes! Every recipe in her blog has been made such that it makes cooking easier, simpler and food healthier. It is not often easy to simplify traditional South Indian recipes. But she manages to make even the most complicated authentic recipes simple! Visit her blog Your Everyday Cookfor all the culinary and visual treats!


Today she is sharing with a very quick and simple recipe which is geared towards those who are living away from home or are new to the kitchen: Bachelor's Sambar! Sambar is basically a spicy mixed vegetable stew that is served with idlis or rice. Let us now take a look at Radha akka's post.


Bachelor' s sambar recipe is nothing but a quick way of making a delicious sambar without compromising on taste .A time saving one .

Bachelors who are away form home constantly travelling may have very few utensils for preparing dishes or less time to cook , so this style of making a sambar all in one step comes very handy.

I personally dont think it is limited to bachelors alone, even busy moms and housewives can try this.

Most people living in temporary residences  will have at least one pressure cooker which doubles up as a cooking utensil too. So the washing chore is reduced greatly, no frying pan required.I find sambar tastier as the dals and vegetables get blended well with spices .This is a great way to make sambar especially in bulk.


Serving size: 2-3 

Ingredients:

1 small cup finely chopped onions or small shallots 
1 small cup finely chopped tomatoes
1 /4 cup or 1/2 cup cubed yellow pumpkins, carrots, or any vegetables ( drumsticks, capsicums).I used a mix of bell papers and yellow pumpkins.
1/4 cup toor dal ( keep soaked while prepping )
1 tsp asafoetida powder
2-3 tbsp sambar  powder
1 tsp kashmiri chili powder for the amazing colour ( recommended)
A pinch of turmeric powder if your sambar powder doesnt have it.
1 tbsp powdered jaggery (optional)
3 tbsp grated fresh coconut or dried. ( optional ) but sambar will taste great with little coconut.
1 tbsp tamrind paste ( or add more tomatoes ) if you dont have tamrind )
salt as required
curry leaves 
2-3 tbsp fresh chopped coriander leaves
1/2 tsp mustard seeds
1/4 tsp methi seeds
1-2 red dry chilis
2 tsp oil 


Method:


Take a pressure pan or pressure cooker.
Add oil, heat it, add mustard seeds, let it splutter.

Add the methi seeds and  red chilies. add the curry leaves.

Add the chopped onions, or shallots , saute well for few seconds. 

Add tomatoes and saute more.Mash lightly.

Add other vegetables,  stir well. 

Add the fresh grated coconut.

Add 4 cups of water, add sambar powder, turmeric powder, asafoetida powder, salt and  tamarind paste.

Add the soaked dal .

Cover and pressure cook for 3-4 whistles.

When cooled, open cooker, lightly mash the dals, but make sure not to mash the vegetables too much.


Add jaggery if you like , garnish with chopped coriander leaves.

For further taste and flavor add 1 tbsp ghee into the hot sambar, stir well, keep covered. 

Serve hot with rice or idlis.


Notes:

Use tomato puree if you do not have tomatoes.
Onions can be skipped,however adding them gives a near restaurant like taste.
Add more tomatoes if you do not have tamarind paste or fresh tamarind.
While adding grated fresh coconut is optional ,adding 3-4 tbsp will give a yummy  taste to the sambar.
Coconut milk powder ( 2 tbsp ) may also be added instead of grated coconut .

Enjoy!!


I am bringing this delicious and useful dish of Radha akka's to all my friends at Throwback Thursday#37Fiesta Friday#118  and Saucy Saturdays#43! Angie's Fiesta Friday co-hosts this week are Kaila @ GF Life 24/7 and Laurena @ Life Diet Health

Please do share your thoughts. Your opinion matters!

Thứ Hai, 2 tháng 5, 2016

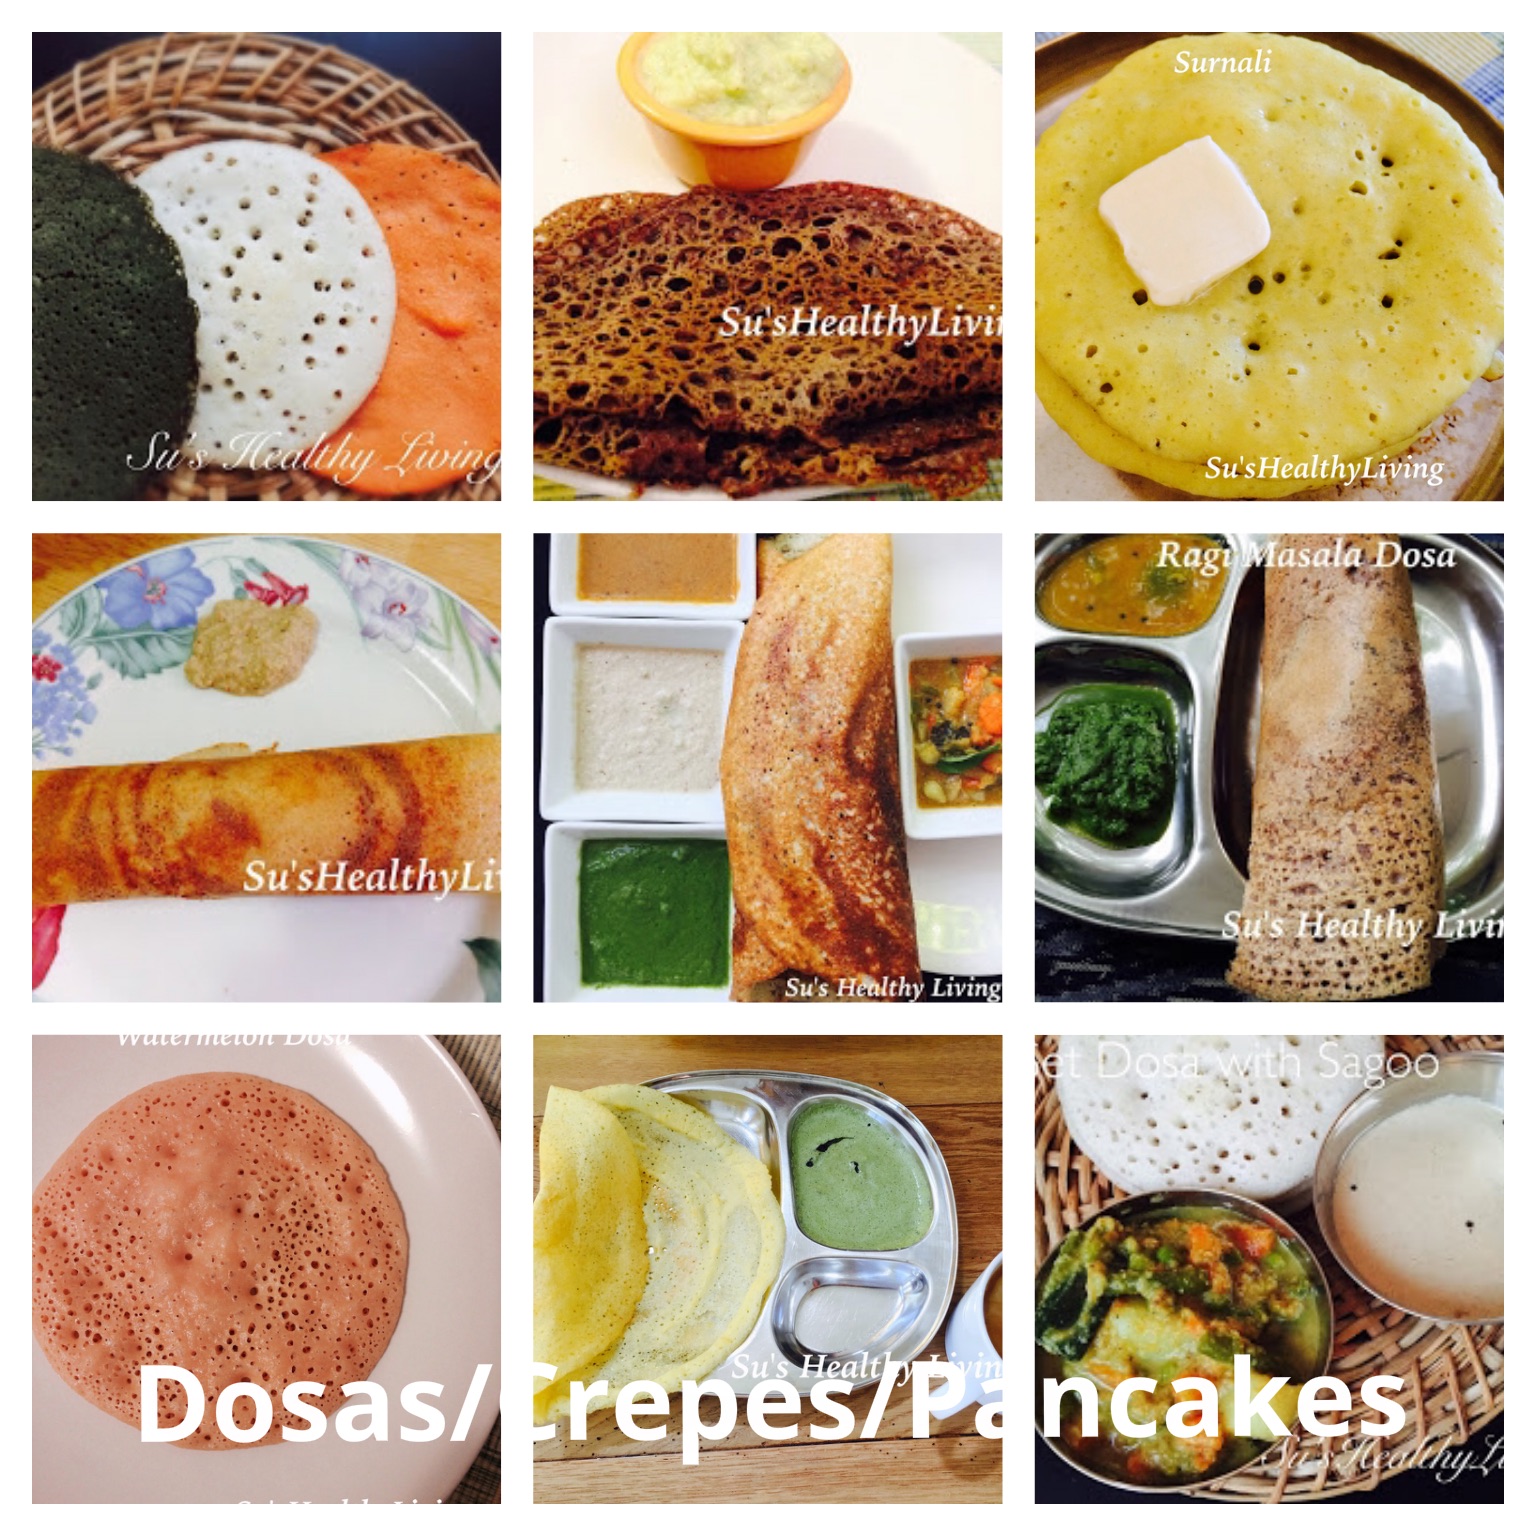
Dosa ( Crepes & Pancakes) Collection;Vegetarian; Meatless Monday.


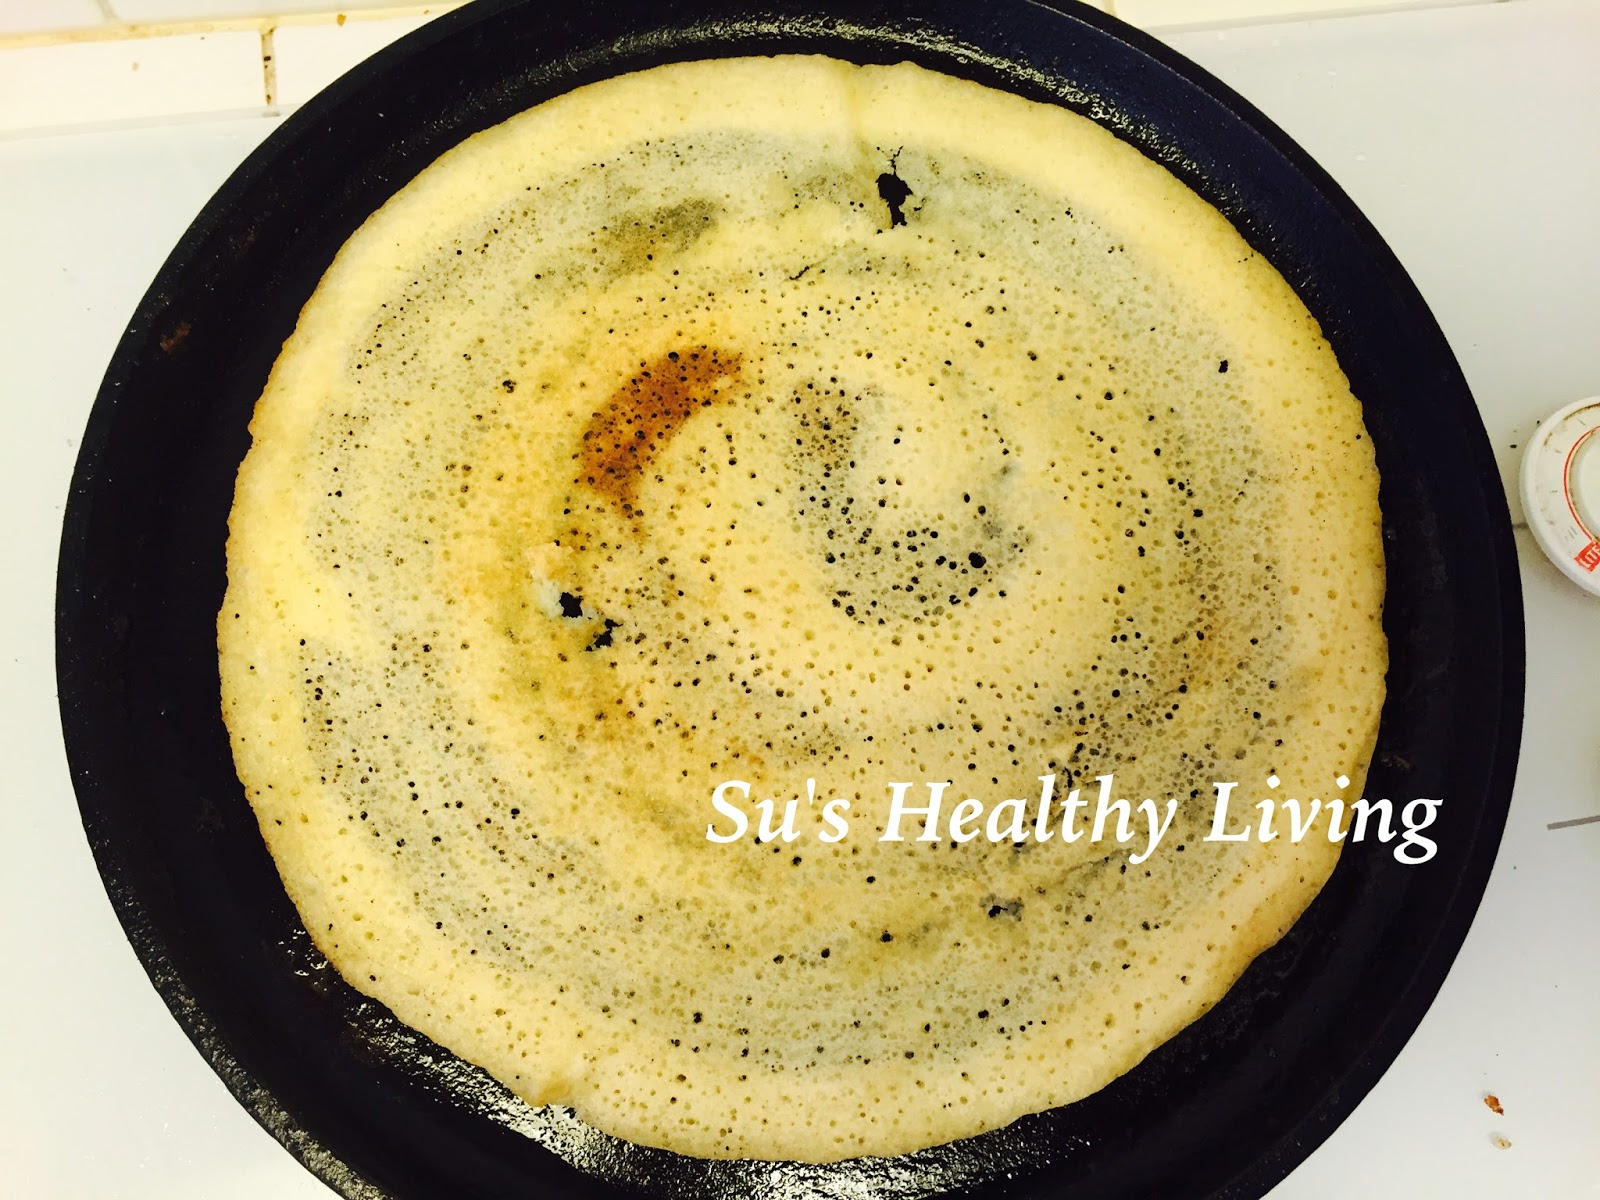
South India is known for it's dosas! Dosas form the staple breakfast item in the southern states of India. There are hundreds of dosas based on the ingredients used in the batter. What are dosas? Dosas are basically crepes or pancakes made with fermented batter. The batter is usually made up of rice and some sort of lentil.  It could be thin like crepes or thick like pancakes! The crepes could be crispy or soft. The pancakes are all soft and fluffy! The best part is that they are ALL vegetarian! They are usually served with chutney, of which there are hundreds of varieties. While most dosas are savory, there are a few like Surnoli, Thausali that are sweet. However, for kids who are spice intolerant( read mine), they can be served with butter and/or honey/ jaggery syrup/sugar.

Today, I am sharing with you some of my favorite dosa recipes, all in one place! Click on the title of the individual dosa to get the recipe in full.


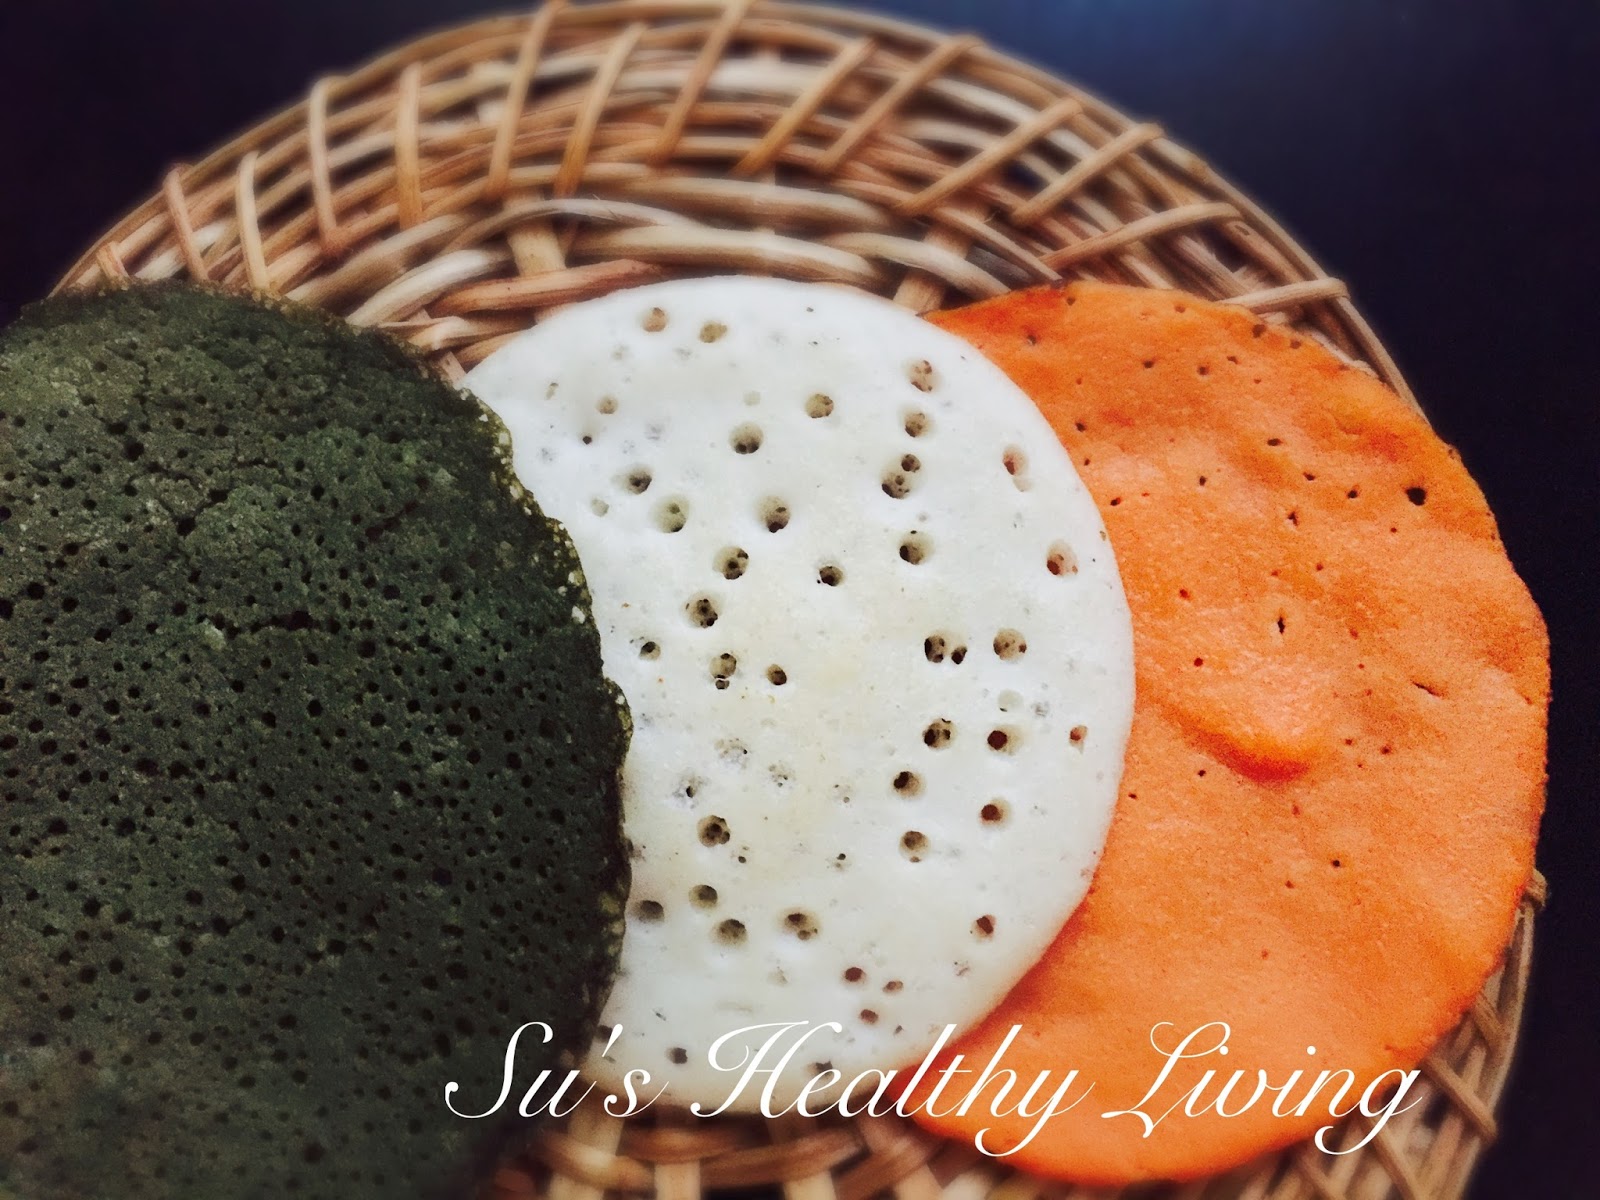
Colorful Dosas ( vegan pancakes & crepes)


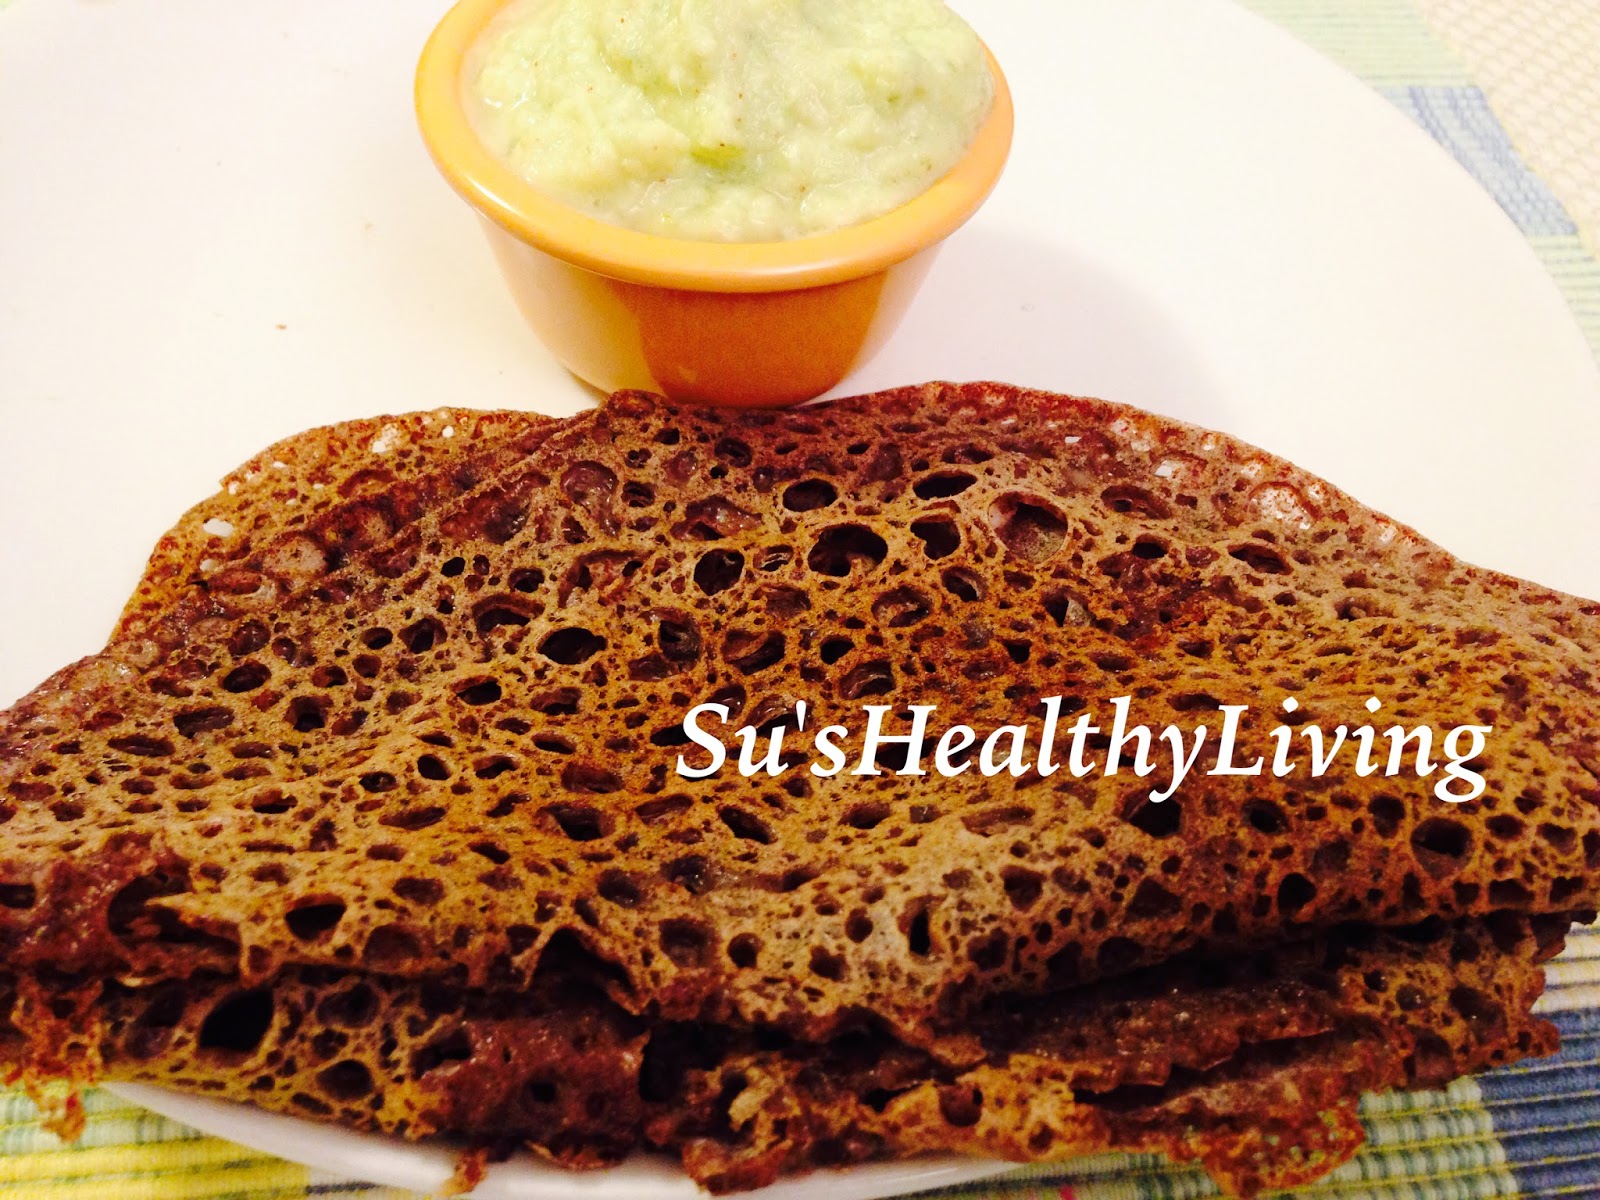
Ragi Phanna Polo ( Instant seasoned finger millet crepes)


Surnali ( Buttermilk pancakes; eggless)


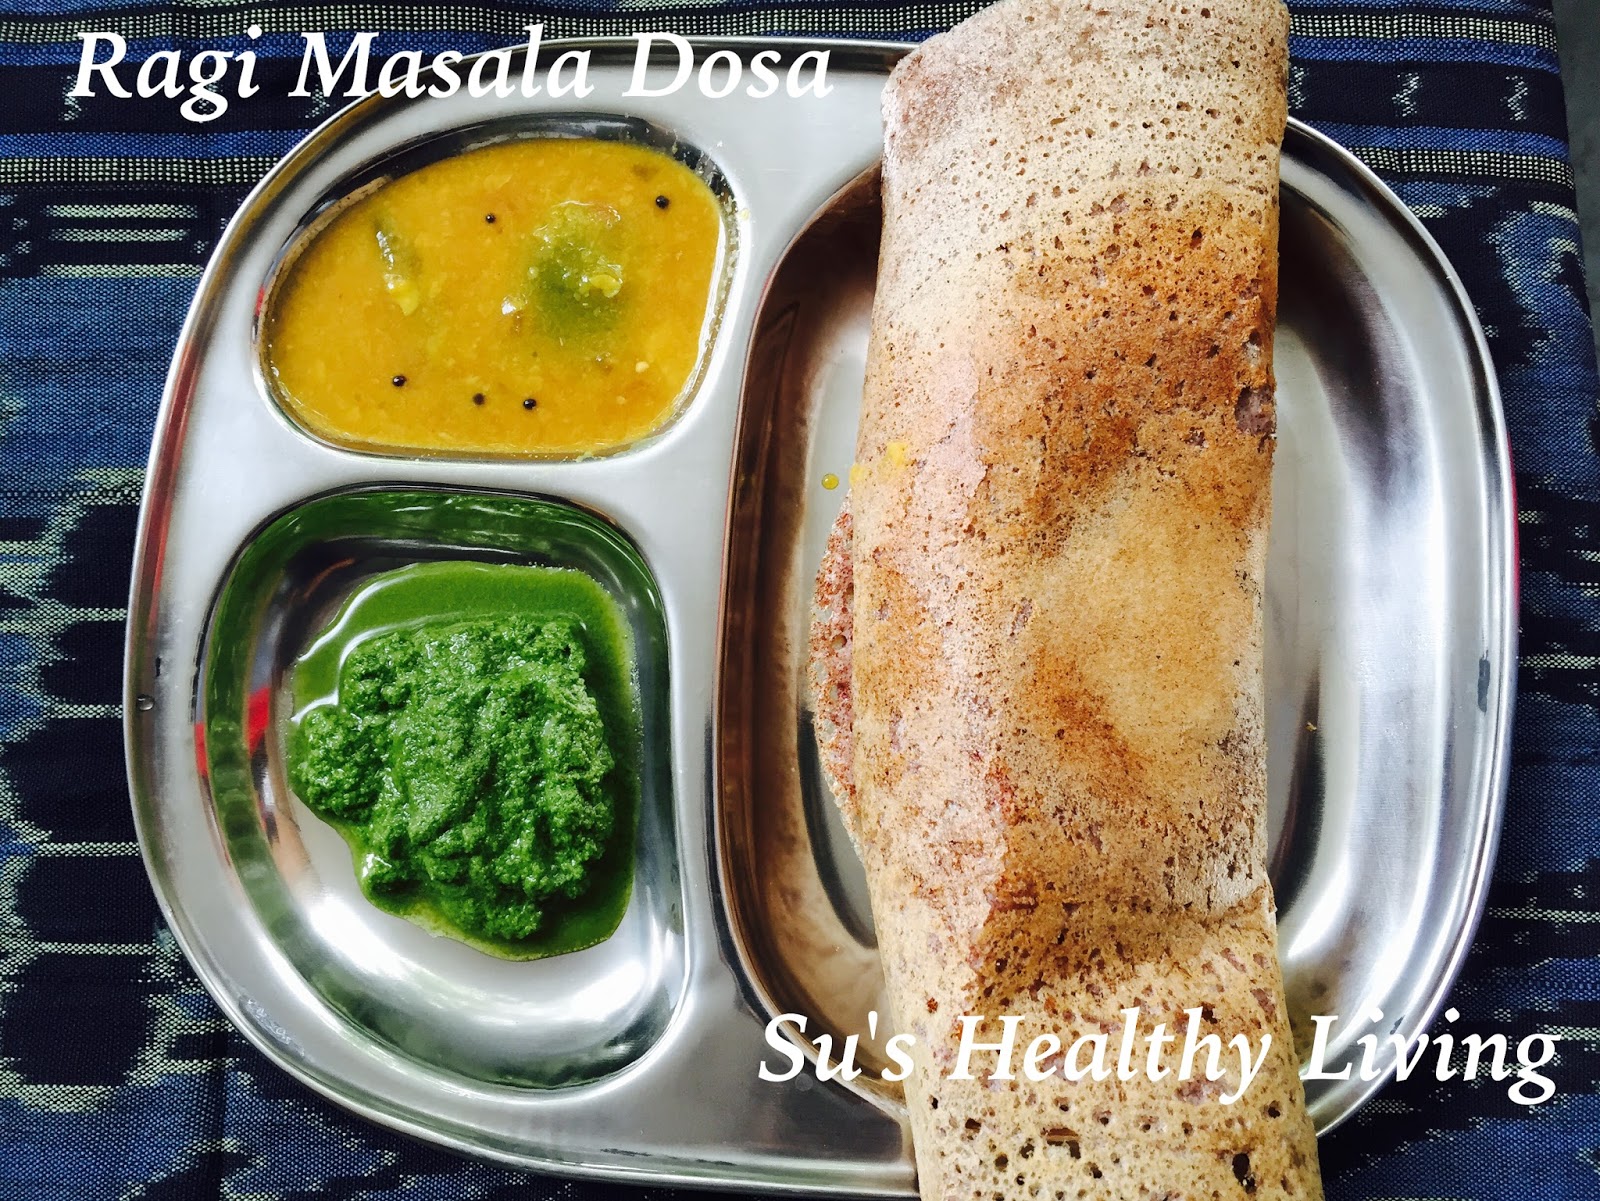
Ragi Masala Dosa ( Crispy millet crepe stuffed with sautéed carrots)


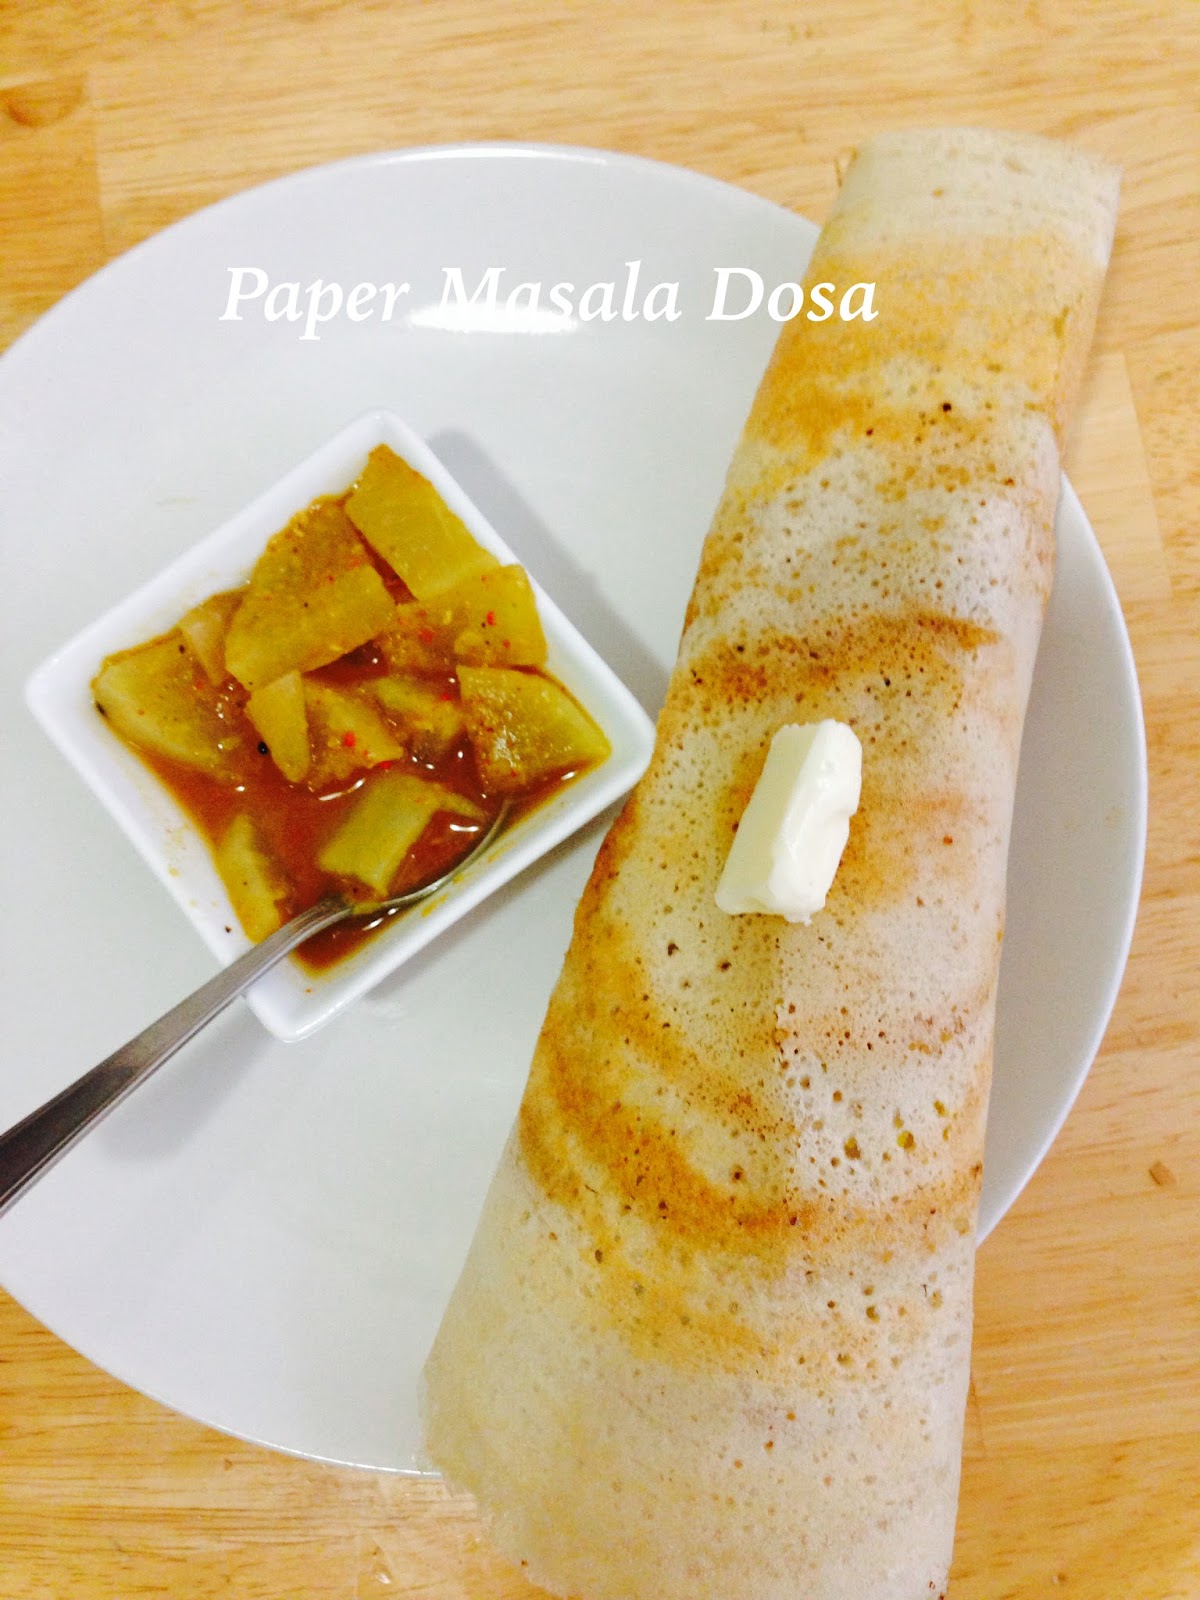
Paper Masala Dosa ( Gluten-free stuffed Crepe)


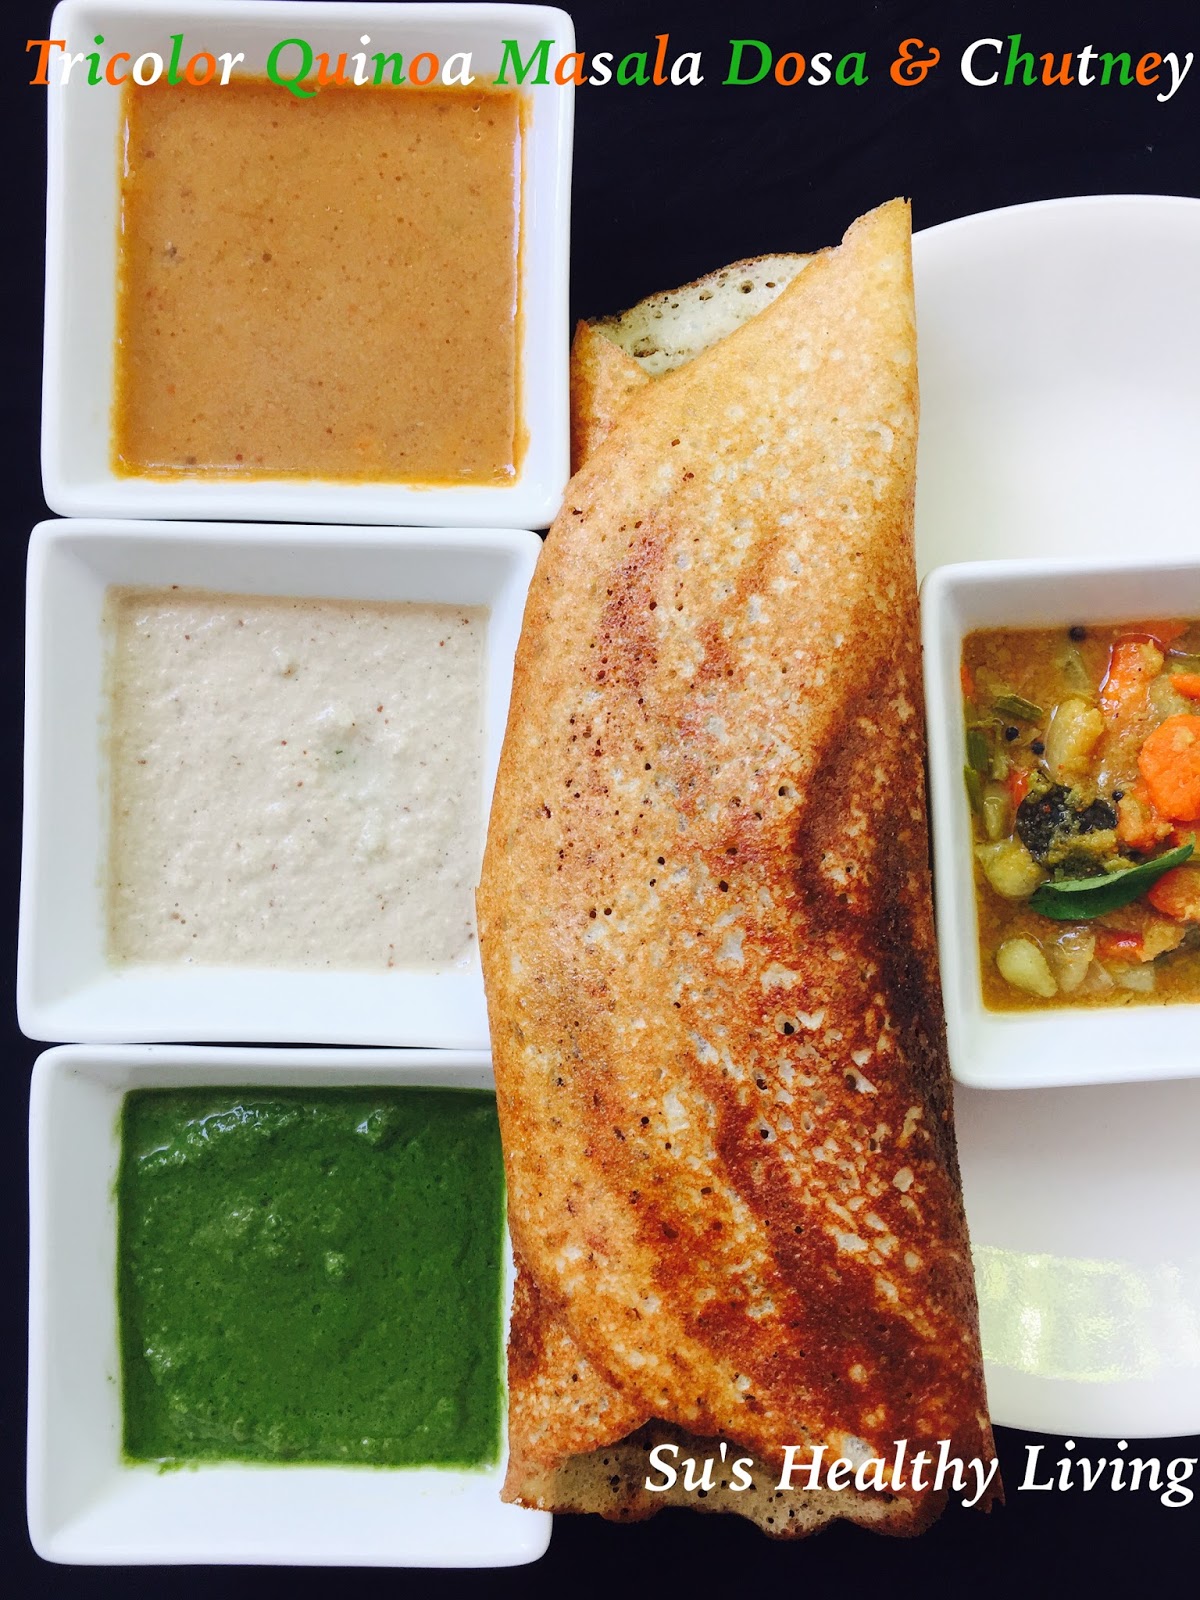
Quinoa Masala Dosa ( quinoa crepe with stuffing and chutney)


Moong dal dosa ( split moong-bean crepes)


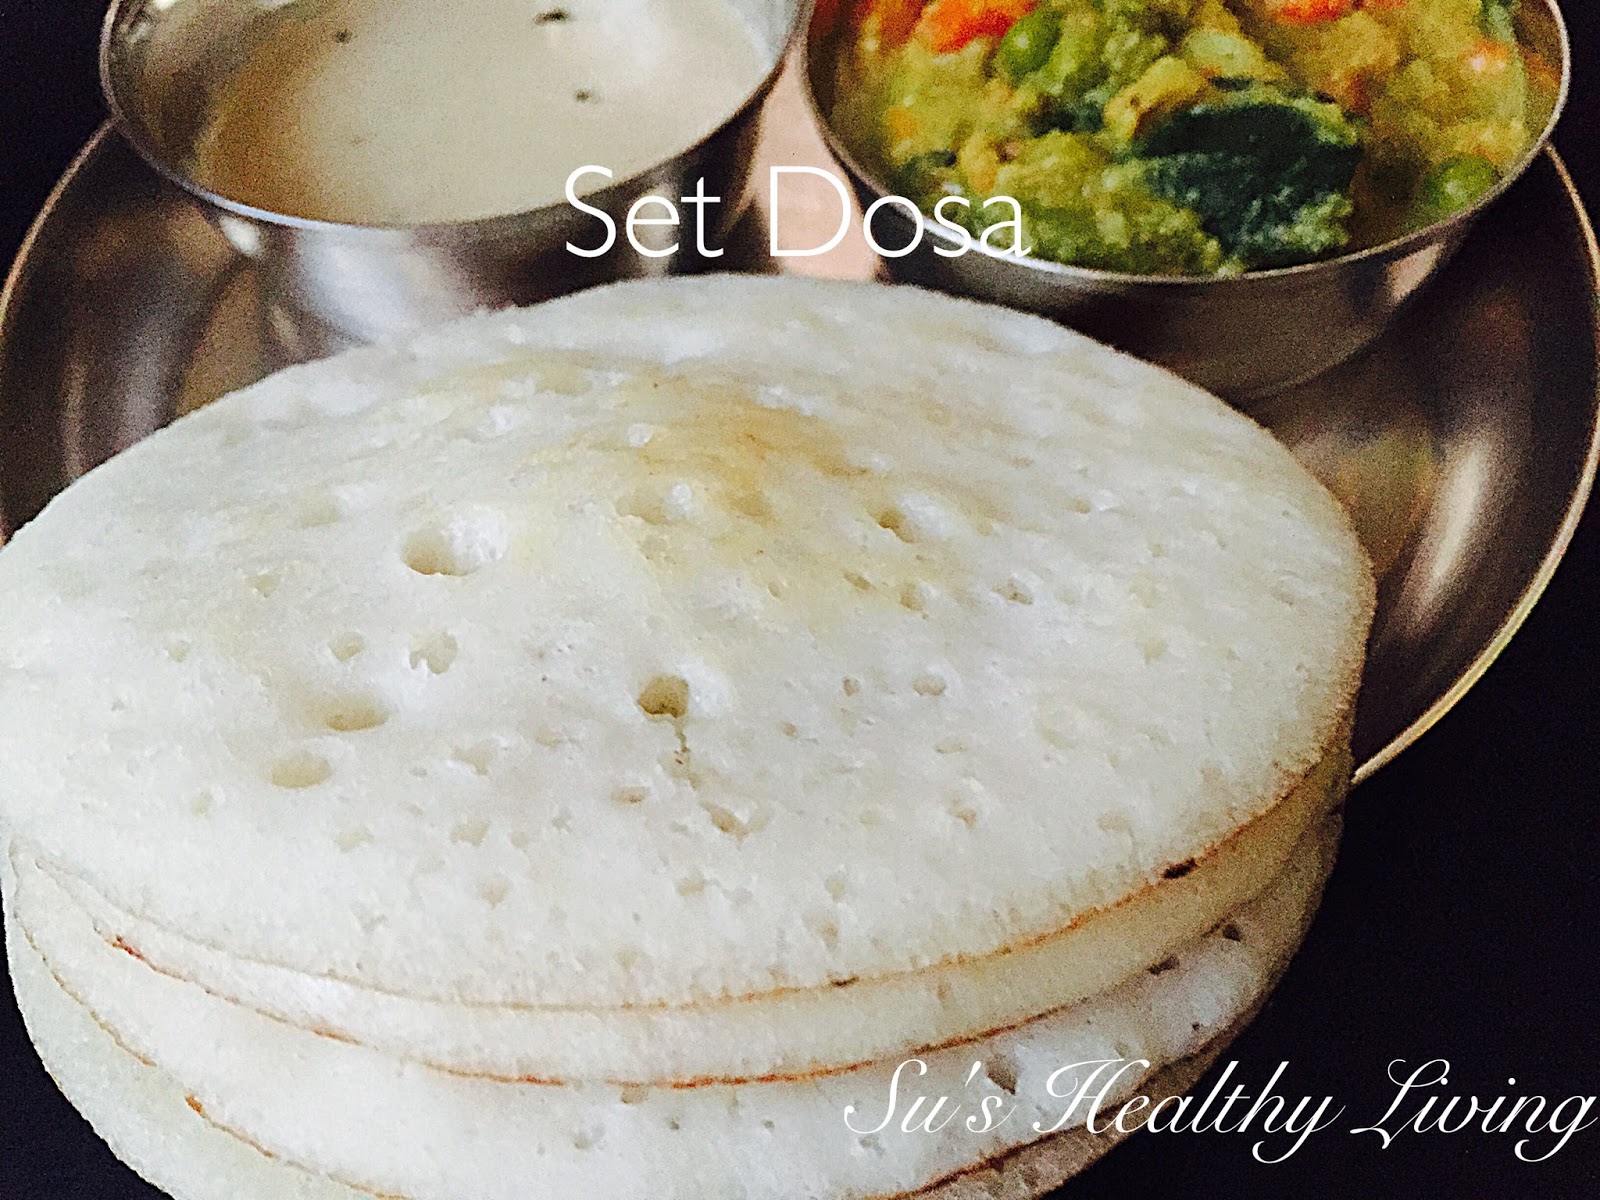
Set Dosa ( Vegan pancakes, served with mixed vegetable stew and chutney)


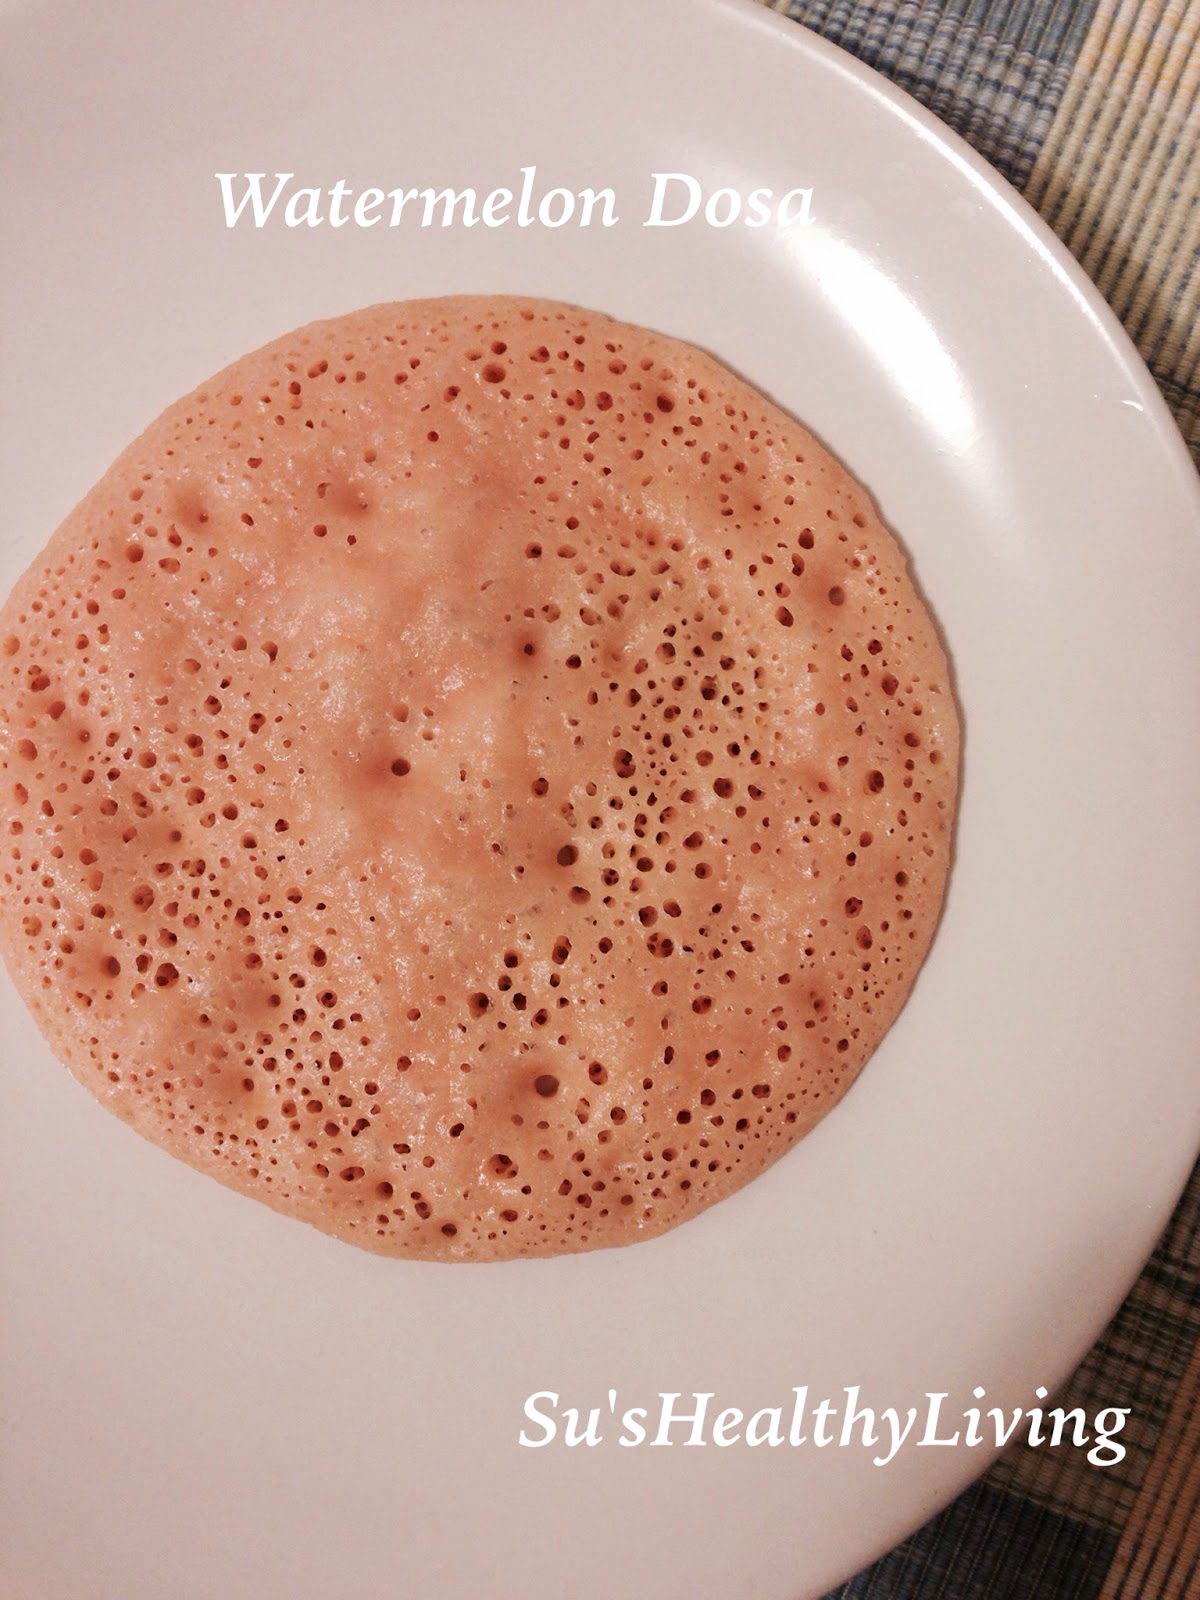
Watermelon Dosa (pancakes made from batter with watermelon)


I hope you enjoyed this collection. If you are still not satisfied, just type in "dosa" in the search box on this page and many more dosa recipes will pop up!

I am bringing this amazing collection of dosas for my friends to try at Throwback Thursday#37Fiesta Friday#118  and Saucy Saturdays#43! Angie's Fiesta Friday co-hosts this week are Kaila @ GF Life 24/7 and Laurena @ Life Diet Health

Thứ Năm, 28 tháng 4, 2016

Guest post series: Quinoa-Beet Patties by Preethi Prasad


I hope all of you enjoyed Sushma Mallya's Dahi Bhendi/ Bhendi Sasam last week. This week we have a very enthusiastic, health-conscious, innovative, new kid on the block ( of blogging world) Preethi Prasad from Preethi's Cuisine. She hails from Bangalore and has been residing in Singapore since 18 years.


Like many of us, Preethi is a working mother. She has two boys ages 16 and 11 who love to eat! While Preethi has always cooked as a hobby, she started actively cooking and experimenting with food a couple of years ago. She then wanted to document and share her experiments in the kitchen with others. With this intent, Preethi's Cuisine was born. Her blog is turning one on . I wish her much success! She has many healthy and innovative recipes on her blog. Do visit her blog Preethi's Cuisine for all the yummy recipes.


Today, Preethi is sharing with us a delicious recipe of Quinoa & Beet Patties. Preethi says: "These yummy patties are loaded with the goodness of Quinoa and other multigrains and beetroot. It is easy to make and can be used in Burgers too".


Servings: makes 12 medium-sized patties


Ingredients:


3 Beetroots 
2 Potatoes 
1”Ginger
4 Garlic Cloves
1 Cup Quinoa cooked in Vegetable stock 
1.5 Tsp Garam Masala
2 Tbsp Gram Flour/ Besan
1 Tsp Chilli Powder
Salt to Taste
1 Tsp Jeera
1 Tsp Chaat Masala
1 Cup Multigrain Powder( A mix of roasted and powdered Green Gram ,Flax seeds and Chia Seeds)
1 Green Chilli
Finely Chopped Coriander


Method:


Pressure cook Beets, Potatoes, green chilli,Ginger and Garlic with 1 glass of water for up to four whistles. In case the beets are not fully mashed, blitz once in a blender to get a fine paste. 

Put all the boiled veggies in a wide bowl without the stock .

Use the Vegetable stock to cook Quinoa as per the instructions on the package.

Add all the masalas( spices),  besan, coriander, jeera,multigrain powder and salt to the boiled veggies and mix well. 

Take a small quantity of the mixture and give a round shape. Repeat this process for the balance mixture.

Heat a heavy-bottomed pan. Smear a teaspoon of oil to the bottom of the pan. Place the round patties and cook on both sides with a teaspoon of oil.

Enjoy these yummy patties with green chutney!!!!


I am bringing this lovely dish of Preethi's for all my friends to try at Throwback Thursday#36Fiesta Friday#117 and Saucy Saturdays#42! The co-hosts this week are two excellent bloggers, Mollie @ The Frugal Hausfrau and Scarlett @ Unwed Housewife.


Please do share your thoughts. Your opinion matters!


Thứ Hai, 25 tháng 4, 2016

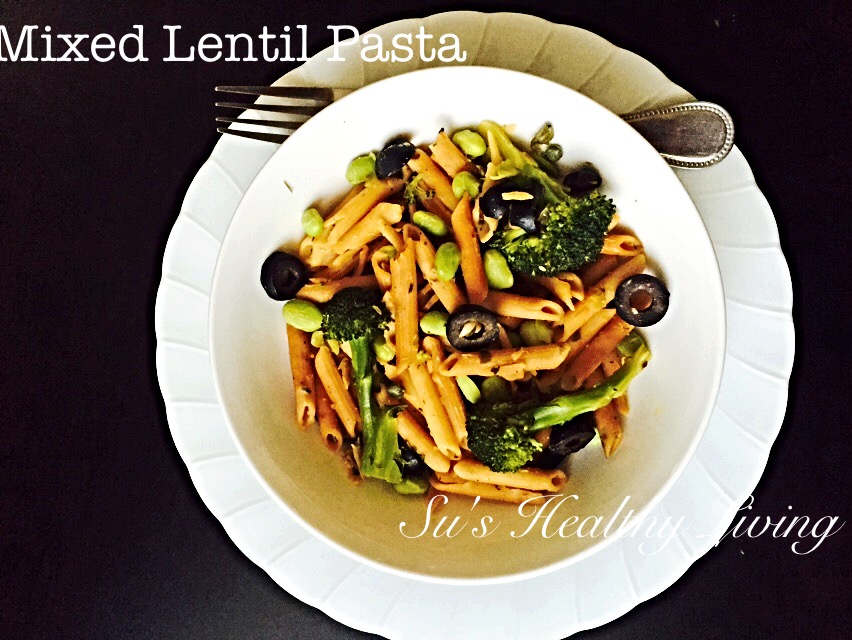
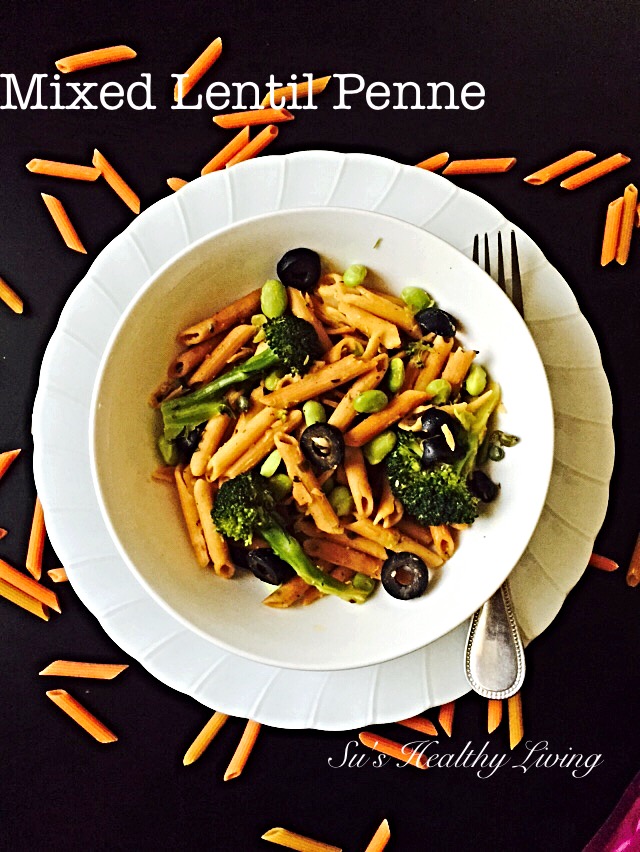
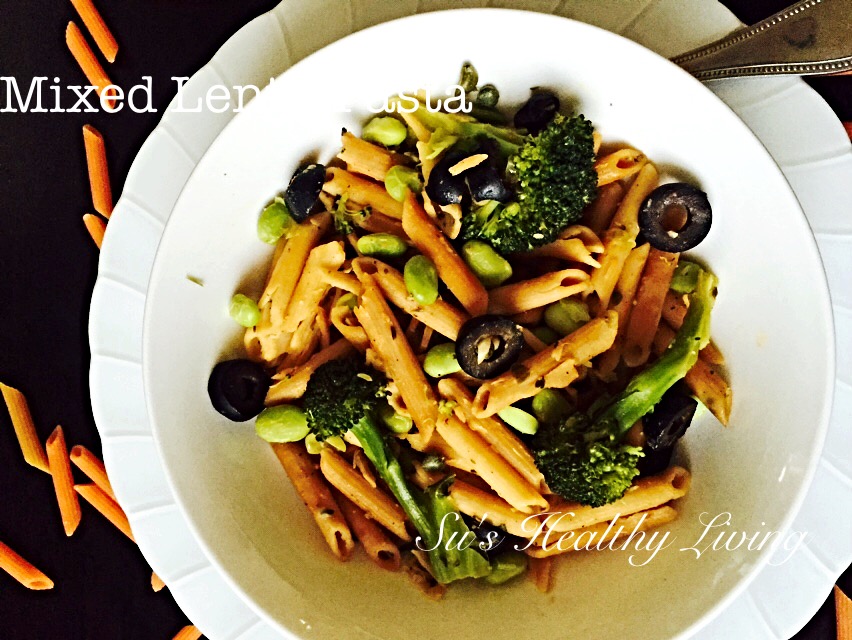
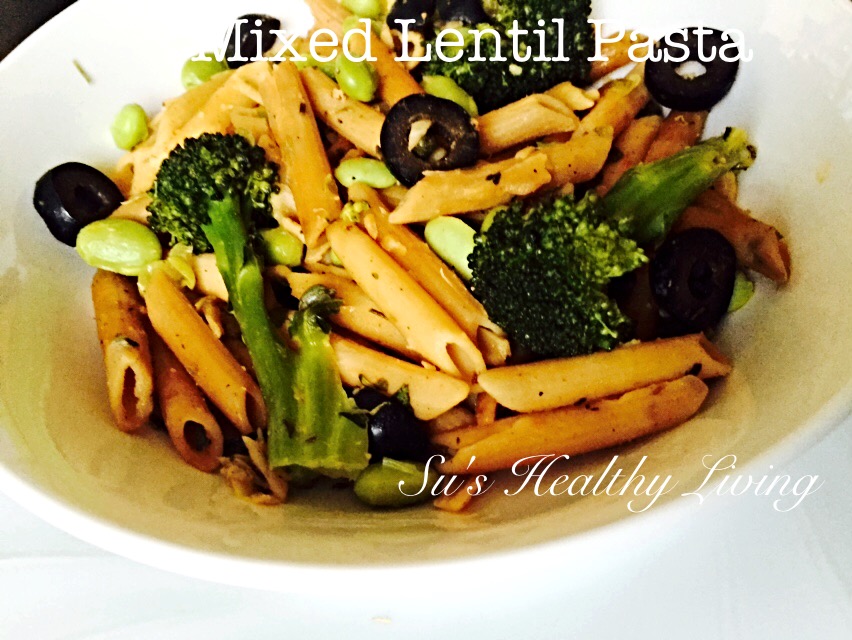
Mixed Lentil Penne (Bean pasta); gluten free; Meatless Monday


When Meatless Monday reached out to me about trying out Bean pasta from Modern Table Meals, and coming up with a nice and easy recipe, I jumped at the chance! Why? Because, a) I am an ardent champion of the Meatless Monday campaign. I believe that they are doing a great job worldwide promoting vegetarian eating and thereby healthy eating! Vanessa Protass  is just awesome! b) I don't eat regular pasta as I avoid gluten in my diet. Therefore I was very excited to try a gluten-free pasta!


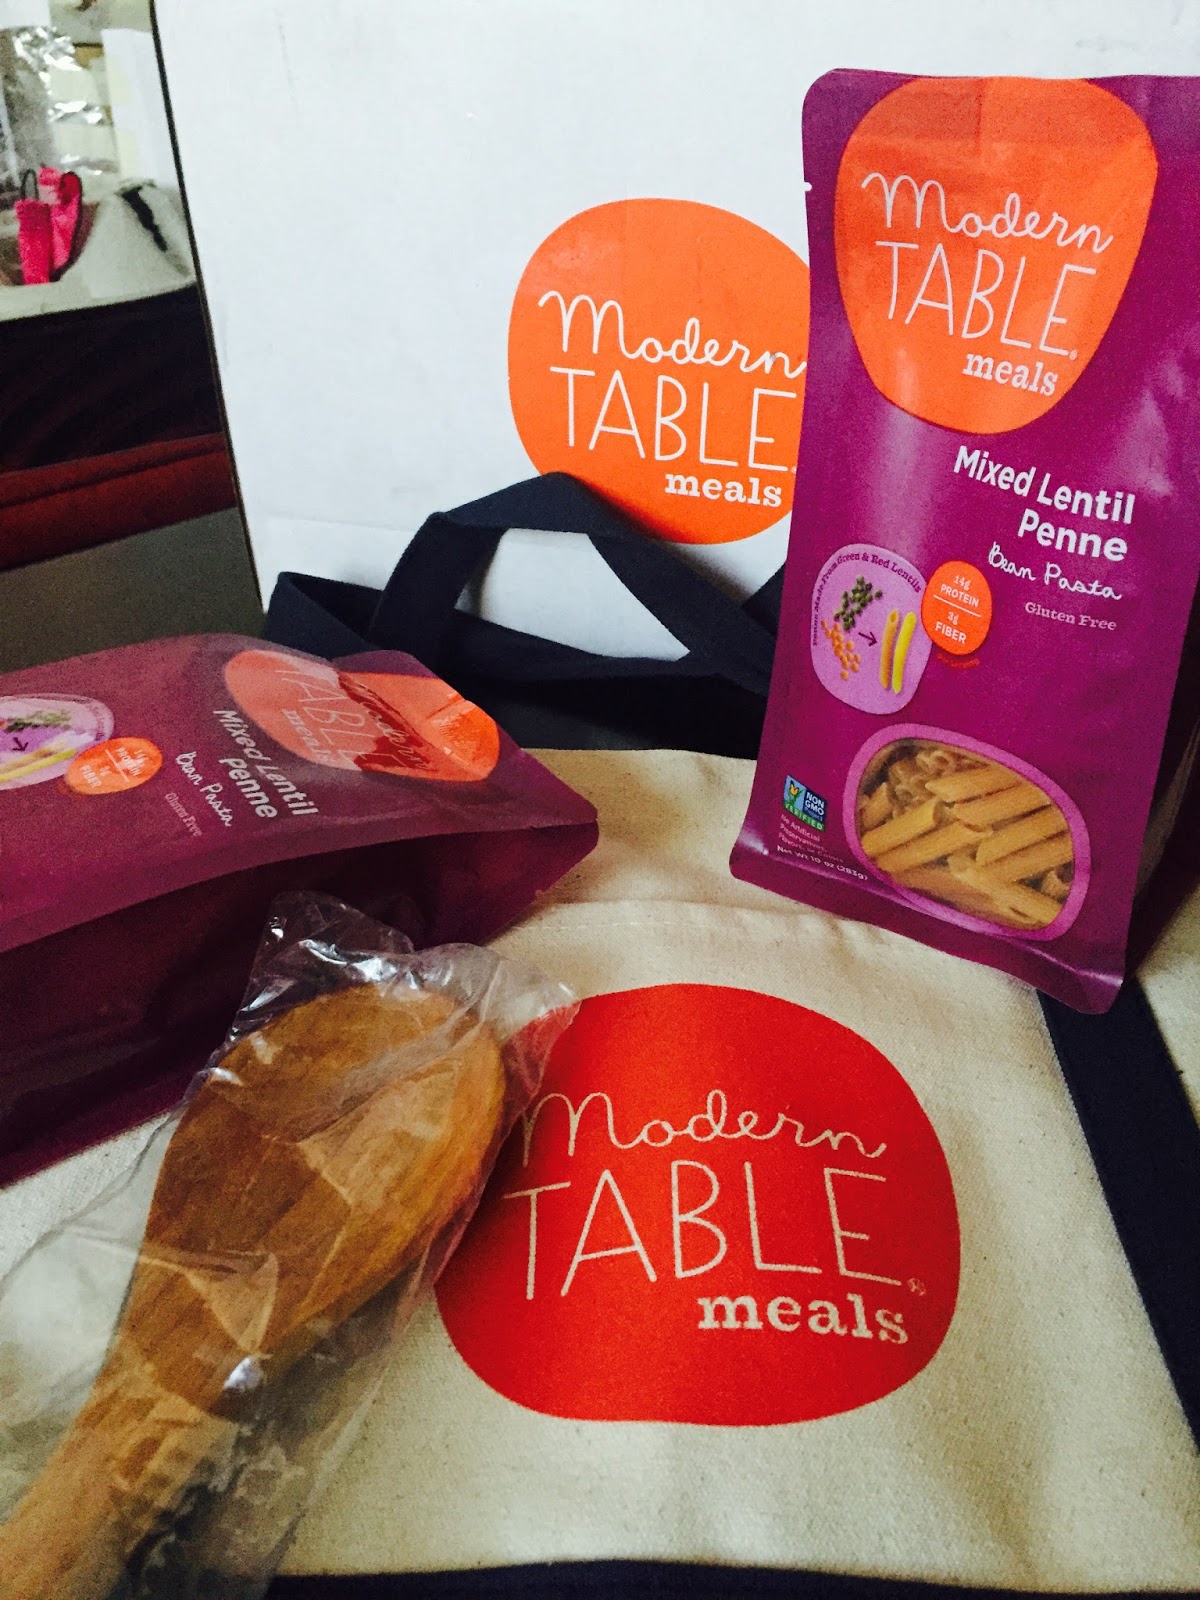
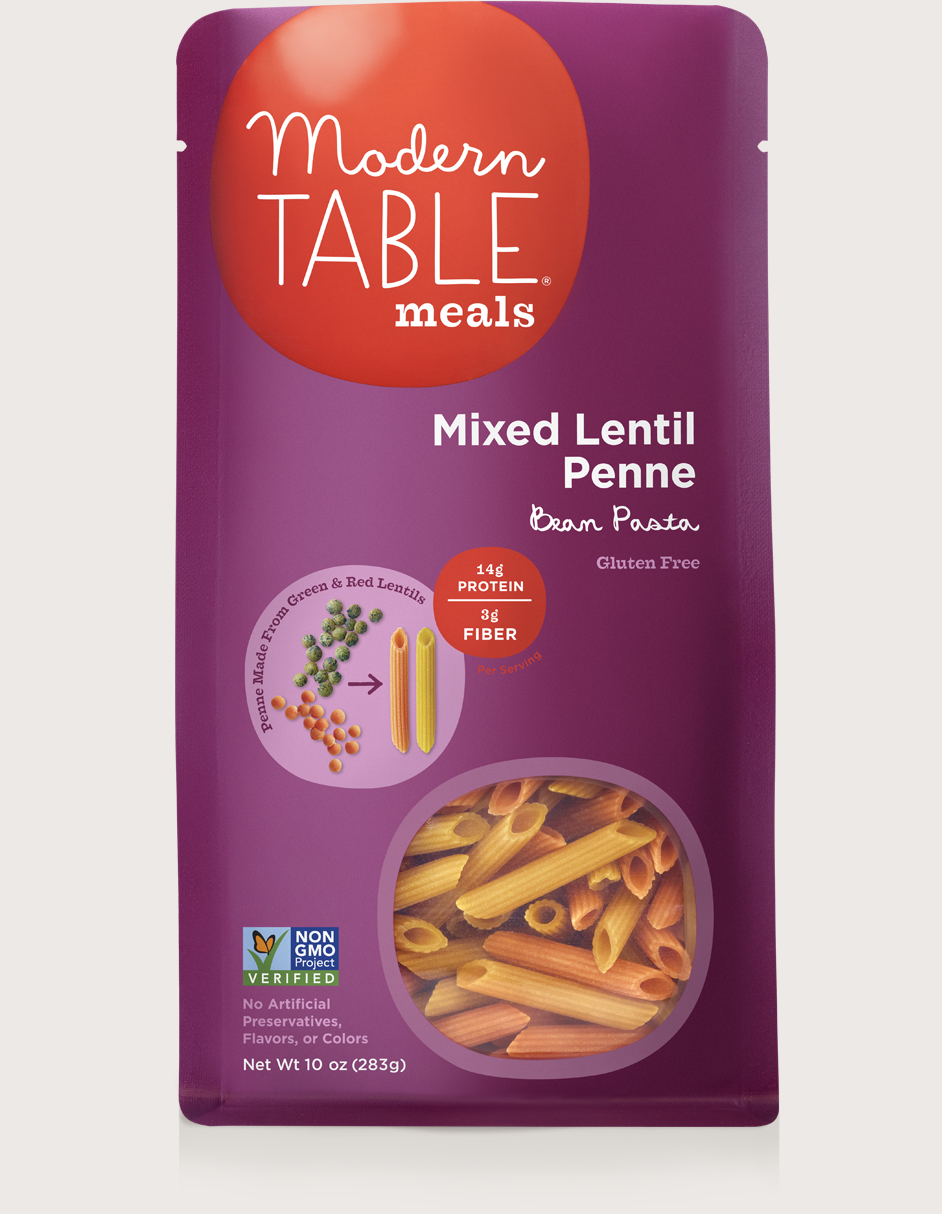
The package from Modern table came a few days later with two packs of Mixed Lentil Penne, a pack of wooden cooking spoons and a nice tote bag.


I must tell you guys that I was not at all disappointed with the Mixed Lentil Penne from Modern Table Meals.


It looks like regular pasta, it cooks like regular pasta and it tastes like regular pasta! No, No. It is not just me saying this. I had some friends over for dinner when I made this particular pasta dish and they couldn't tell me that it was any different!In fact, they didn't even know that it was not regular pasta until I specifically mentioned that it was bean pasta. It is also light and does not make your stomach feel heavy and bloated . The best part: it is loaded with protein due to the lentils present in it, so you could just toss it with some veggies and a nutritious dinner/lunch is ready!


Do try this quick and very easy recipe! You will not be disappointed . Also, it is a great way to sneak in protein and veggie into your kid's and your tummies!


Servings: 4


Ingredients:


Modern table mixed lentil penne pasta: 1 package
Water:
Broccoli florets : 1 small bunch ( around 2 cups)
Endamame: 8 oz pack, ( peeled and shelled,ready to cook)
Olive oil: 1 tbsp
Butter: 1 tsp ( skip butter if vegan)
Garlic: 6-8 cloves, minced
Capers: 1/4 cup
Olives, chopped: 2 tbsp ( any olives may be used, I used black olives); optional.
Dried Italian seasoning: 1 tsp
Freshly ground black pepper: 1 tsp
Salt: as per taste

Method:


Boil water with 1/4 tsp salt,  in a big pot/ saucepan. When the water comes to boil, add the penne in and cook for 8-9 minutes or until al dente. Drain and keep aside. Reserve the water.

Boil the same reserved water. When the water comes to boil, add Endamame  and cook for 2 mins. At the end of 2 mins, add the broccoli florets and cook for another 2 mins. Drain and keep aside. Reserve 1/4 cup of the drained water.

Heat a sauté pan or skillet on medium heat. Add the butter, oil and minced garlic. Sauté the garlic for a minute until aromatic. 

Add in the vegetables, the capers, the chopped olives, the herbs and the reserved 1/4 cup of pasta water. Let it come together for 10 seconds. 

Now add in the  cooked pasta. Toss it all together.


Serve hot.

Enjoy!

I am bringing this very healthy meal for all my friends to try at Throwback Thursday#36Fiesta Friday#117 and Saucy Saturdays#42! The co-hosts this week are two excellent bloggers, Mollie @ The Frugal Hausfrau and Scarlett @ Unwed Housewife.


Cooking made easy:


One of the things I like to do while making pasta/noodles is cook the veggies with the pasta. Depending on the amount of time required for each one, I add it one after the other. In case of the above dish, the pasta requires to be cooked for 8 mins, the Endamame for 4 minutes and the broccoli for 2 mins or less. So, I would start with boiling the water with salt, add the pasta and keep the timer for 4 mins. At the end of 4 minutes, I would add the Endamame and cook for another 2 minutes, at the end of which I would add the broccoli florets and cook for another 2 minutes. When it is done, drain it all together.

Tip for healthy living:


Reduce the oil/ butter content in pasta dishes and make it healthier. You can still have a pasta dish that is not dry by adding some of the pasta water reserved while draining the pasta! This makes the pasta creamy and delicious!

Food for thought:


To live a pure unselfish life, one must count nothing as one's own in the midst of abundance. Buddha


Thứ Sáu, 22 tháng 4, 2016

Guest post series: Bhenda Sasam ( Crispy Okra in a spiced yogurt sauce) by Sushma Mallya


The month of April is extra-special! It is my birthday month! This week is my birthday-week! Guess how I am celebrating??


 I am going away on a vacation next week since we are having Spring Break! Yay!! I am also celebrating my birthday by starting " the guest post series" which I have been planning for a while now! I am so happy that it is finally coming to fruition! As part of this series, you will be seeing healthy, quick and easy recipes from a variety of food bloggers: some new and some who are already established! It is going to be a nice mix! The guest post will be featured every Friday of the month. They will be accompanying me to many parties! It is going to be so much fun!! I am so excited!!


If you are interested in writing a guest post for my blog: Su's Healthy Living, please reach out to me at sushealthyliving@gmail.com. The criteria for the recipe is that it has to be healthy, quick and easy to make!! That's not too much to ask is it??;)

I am beginning this series with a guest post from a very good friend from the blogging world: Sushma Mallya! She blogs from Authentic Food Delights. She is one of the nicest, unassuming people that I have met in the blogging world. Believe it or not she has had her blog for 8 years now! Way before all the rat race that is going on today! She is a mother of two beautiful boys. Her blog started as a way to document all the recipes that she learnt from her mother, mother-in-law and friends. When she is not churning up delicious dishes in her kitchen, she immerses herself in her other passion, which is painting and sketching! Her creativity and artistry is evident in her food photography! Her blog has a myriad of recipes, mostly traditional Konkani recipes and a few fusion recipes. She has been residing in UK for the past 13 years. Do check out her blog  Authentic Food Delights for more amazing recipes.


Today she is sharing with us a recipe that she learnt from her mother: Benda Sasam ( crispy okra in a yogurt-based sauce). This is a very quick and easy recipe that is healthy too!  This dish brings along a variety of textures and flavors with crispy okra in a delicious spiced yogurt sauce.


Servings: 3-4 people


Ingredients

10-12 ladies finger (bhindi) (cut into thin slices )
2 tbsp cooking oil

For Masala

1/2 cup freshly grated coconut 

1/4 tsp Mustard seeds

3-4 green chilli (adjust according to your spice level)

1/4 cup Thick curd /yogurt 

salt to taste

For tempering /tadka

1 tsp ghee + 1 tbsp oil

1/4 tsp mustard seeds

1/4 tsp Jeera

1/4 tsp urad dal

1 red chilli broken into bits 

1 sprig of curry leaves 

Method 
  • Wash Bhindi and pat it dry . Cut Bhindi into thin slices and keep aside. Then take a non stick pan add oil then add ladies finger and fry till v crisp on a low heat and keep aside. ( This can be made well ahead of time and mixed at the time of serving).
  • Grind coconut, green chilles, mustard seeds,  yogurt and grind to a fine paste. Add water to thin it to the desired consistency.
  • Take it out in a container. keep aside.
  • Now Prepare the tadka ; Heat a non stick pan add in ghee and little oil then add in mustard seeds. Jeera, Urad dal, when it starts spluttering add red chilli, fry add in curry leaves.
  • Pour this tempering /tadka over the ground paste (NOTE: There is no heating in this type of curry ).
  • Add in fried bhindi at the time of serving (so that it stays crisp). Then serve it Garnished with finely chopped coriander leaves . Done it's awesome with Rice ...YUMM !

I am bringing this lovely dish of Sushma's for all my friends to try, at Throwback Thursday#35, Fiesta Friday#116 and Saucy Saturdays! Angie's co-hosts this week are Judi @ cookingwithauntjuju and Cynthia @ eatmunchlove.


Please do share your thoughts. Your opinion matters!